How to Establish an Eco-Friendly Worm Farm in Your Backyard
Have you ever thought about turning your kitchen scraps into a goldmine for your garden? Establishing an eco-friendly worm farm in your backyard is not just a fun project; it's a fantastic way to contribute to sustainability, reduce waste, and enhance your soil health. Imagine transforming what would typically end up in a landfill into rich, nutrient-dense compost. In this article, we’ll walk you through the essential steps and benefits of creating a worm farm, ensuring you have all the tips and tricks to nurture these incredible little creatures.
Worm farming, also known as vermiculture, is the practice of cultivating worms to compost organic waste. This method is a win-win for both the environment and your garden. By using worms to break down food scraps and yard waste, you can significantly reduce the amount of waste you produce while simultaneously enriching your soil. Worms are nature's recyclers, and their castings, or worm poop, are packed with nutrients that plants crave. Not only does this process improve soil structure and fertility, but it also promotes healthier plant growth. So, if you’re looking to boost your garden’s productivity while being eco-conscious, worm farming is the way to go!
When it comes to starting your worm farm, selecting the right species is crucial. The most popular types of worms for composting are red wigglers and European nightcrawlers. Each has its unique characteristics and needs, so understanding these differences can help you make the best choice for your farm.
Red wigglers are the rock stars of the composting world. They are efficient, love to eat, and thrive in a variety of conditions. On the other hand, European nightcrawlers are larger and can handle more variable temperatures. Here’s a quick comparison to help you decide:
| Worm Type | Composting Efficiency | Habitat Preference | Care Requirements |
|---|---|---|---|
| Red Wigglers | Very High | Moist, warm environments | Low maintenance |
| European Nightcrawlers | High | Cooler, more varied conditions | Moderate maintenance |
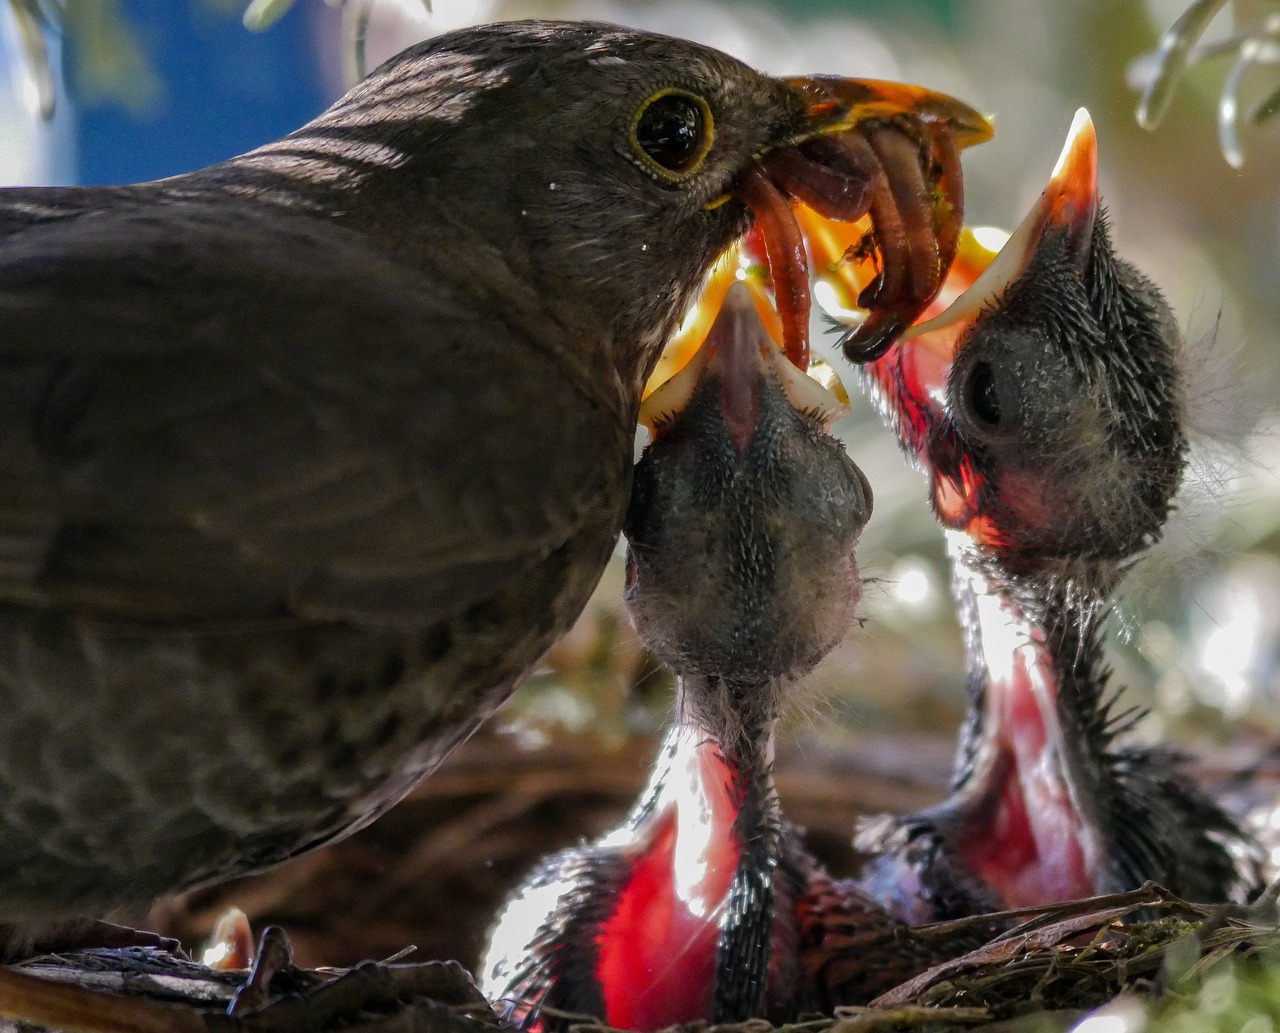
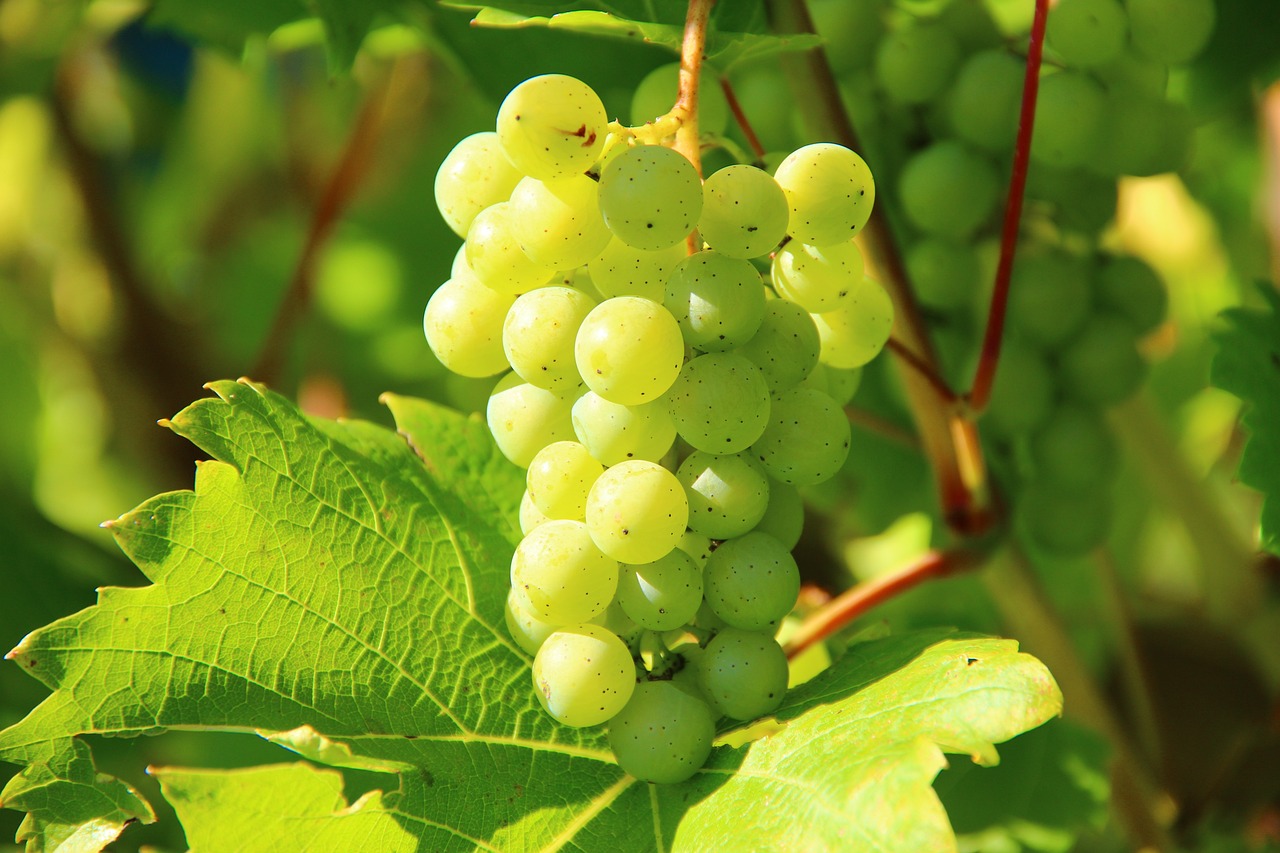
Understanding what to feed your worms is essential for their growth and productivity. Red wigglers thrive on a diet of kitchen scraps, such as fruit and vegetable peels, coffee grounds, and crushed eggshells. European nightcrawlers, while also happy with these foods, can handle a wider range of organic materials. It's important to avoid feeding them meat, dairy, or oily foods, as these can attract pests and create odors. Regularly adding fresh food not only keeps your worms happy but also aids in the composting process.
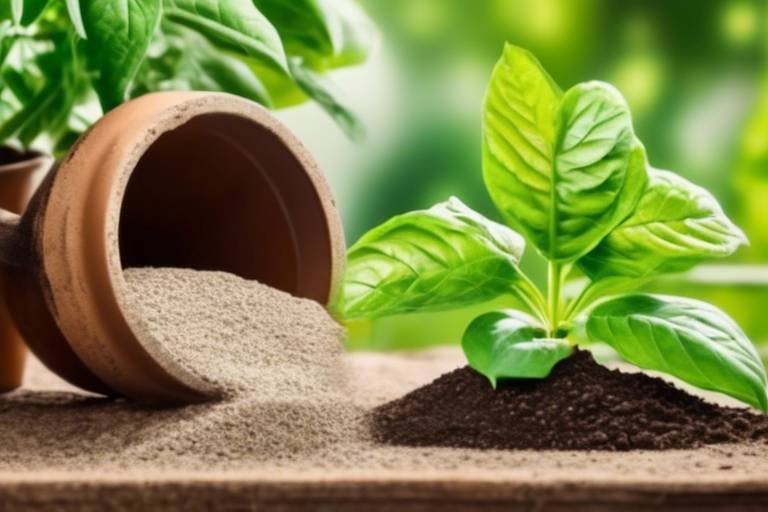
Creating a suitable habitat for your worms is vital for their health and productivity. Worms thrive in a moist environment with a temperature range of 55°F to 77°F (13°C to 25°C). The bedding material is also crucial; shredded newspaper, cardboard, and peat moss work well. Ensure that the bedding is damp but not soaking wet. This balance of moisture, temperature, and bedding materials will create a thriving environment for your worms, allowing them to work their magic in transforming waste into compost.
Setting up your worm bin is an exciting step in starting your worm farm. Here’s a simple guide to get you started:
- Choose the right container: A plastic bin with a lid works well, ensuring it has holes for ventilation.
- Layer your materials: Start with a layer of bedding, followed by your food scraps.
- Ensure proper drainage: Worms need moisture, but too much can drown them. Make sure your bin has adequate drainage holes.
Following these steps will help you create an optimal environment for your worms, setting the stage for a successful worm farm.
Regular maintenance is key to keeping your worm farm thriving. Monitor the moisture levels regularly; your worms should be in a damp environment, similar to a wrung-out sponge. Harvesting compost is also essential. You can do this every few months by gently moving the top layer of compost aside, allowing you to collect the nutrient-rich worm castings below while minimizing disruption to the worms. Additionally, be on the lookout for common issues, such as pests or unpleasant odors, and address them promptly to keep your farm healthy.
Harvesting compost is one of the most rewarding aspects of worm farming. When the compost is ready, you’ll notice a dark, crumbly substance that smells earthy. To collect it, simply move the contents of your bin to one side, allowing the worms to migrate to the other side. This way, you can scoop out the finished compost with minimal disturbance to your worm population.
Pest management is crucial for a healthy worm farm. Common pests include fruit flies and mites. To prevent these, avoid overfeeding and maintain proper moisture levels. If you do encounter pests, consider using natural deterrents such as a vinegar trap for fruit flies or introducing beneficial insects that prey on pests. Keeping your worm farm clean and well-maintained will help ensure it remains a safe and productive environment.
- What type of worms should I use for composting? Red wigglers and European nightcrawlers are both excellent choices.
- How often should I feed my worms? Feed them every few days, but monitor how quickly they consume the food.
- Can I use my worm compost immediately? Yes, but it’s best to let it sit for a few weeks to further break down.
- What should I do if my worm bin smells bad? Check for overfeeding and moisture levels; adjust accordingly.

Understanding Worm Farming
Worm farming, also known as vermiculture, is an innovative and sustainable way to manage organic waste while enriching your garden soil. Imagine transforming your kitchen scraps into a nutrient-rich resource that feeds your plants and improves soil health! This process not only reduces the amount of waste sent to landfills but also promotes a healthier ecosystem in your backyard. By cultivating worms, you are essentially creating a mini-ecosystem that thrives on decomposing organic materials.
The benefits of worm farming extend far beyond just waste reduction. First and foremost, worms are nature's own composting machines. They consume organic matter and produce worm castings, which are considered one of the best natural fertilizers available. These castings are packed with essential nutrients and beneficial microorganisms that enhance soil structure and fertility. As a result, your plants will grow stronger and healthier, leading to bountiful harvests. Furthermore, worm farming is an excellent educational opportunity for families, teaching children about sustainability, biology, and the importance of caring for our environment.
But wait, there's more! Worm farming can also be a fun and engaging hobby. Whether you're a seasoned gardener or just starting, working with these fascinating creatures can be incredibly rewarding. You get to observe their behavior, learn about their life cycles, and even experiment with different feeding techniques to see what works best for your specific setup. Plus, it's a fantastic way to connect with nature right in your own backyard.
To give you a clearer picture of the advantages, here are some key points to consider:
- Waste Reduction: Worms can consume a significant amount of kitchen scraps, reducing the waste that ends up in landfills.
- Soil Enrichment: Worm castings improve soil health, enhancing its ability to retain moisture and nutrients.
- Environmentally Friendly: By composting with worms, you are contributing to a more sustainable lifestyle and reducing your carbon footprint.
- Educational Value: Worm farming offers a hands-on learning experience for all ages.
- Cost-Effective: Creating your own compost saves money on fertilizers and improves your gardening results.
In summary, establishing a worm farm in your backyard is not just a practical solution for waste management; it’s a step towards a more sustainable lifestyle. By understanding the fundamentals of worm farming, you’re on your way to creating a thriving ecosystem that benefits both your garden and the environment. So, are you ready to dive into the world of vermiculture and unlock the potential of these incredible organisms?
Choosing the Right Worms
When it comes to establishing a thriving worm farm, selecting the right species of worms is absolutely crucial. Not all worms are created equal, and understanding the differences between them can make or break your composting success. Two of the most popular types of worms for vermiculture are red wigglers and European nightcrawlers. Each species has unique characteristics and care requirements, so let’s dive into their differences and help you choose the best fit for your eco-friendly worm farm.
Red wigglers (Eisenia fetida) are often hailed as the champions of composting. They thrive in organic waste and are incredibly efficient at breaking it down. If you’re looking to compost kitchen scraps, red wigglers are your best bet. They prefer a warm, moist environment and can eat their weight in food every day! This makes them perfect for a worm farm focused on reducing kitchen waste.
On the other hand, we have the European nightcrawlers (Eisenia hortensis), which are slightly larger and can be a bit more versatile. They not only excel at composting but can also be used for fishing bait. European nightcrawlers prefer a cooler habitat compared to red wigglers, making them ideal for outdoor composting in milder climates. They have a slower reproduction rate but can tolerate a wider range of conditions, making them resilient in various environments.
To help you decide which worm to choose, here’s a quick comparison:
| Feature | Red Wigglers | European Nightcrawlers |
|---|---|---|
| Size | Smaller (3-4 inches) | Larger (4-8 inches) |
| Composting Efficiency | High | Moderate |
| Preferred Temperature | Warm (70-85°F) | Cool (60-75°F) |
| Habitat | Indoor or outdoor | Outdoor, but can adapt indoors |
When choosing worms, consider your local climate, the space you have available, and what you plan to compost. If you’re primarily working with kitchen scraps and want quick composting results, red wigglers are your go-to choice. However, if you’re looking for a more adaptable worm that can handle varying conditions, European nightcrawlers might be the better option.
In summary, the right choice of worms can elevate your composting game and contribute significantly to your garden’s health. Whether you go with the speedy red wigglers or the resilient European nightcrawlers, you’ll be taking a big step toward an eco-friendly lifestyle. Remember, it’s not just about choosing the right worms; it’s about creating a thriving ecosystem that benefits your garden and the environment.
- Can I mix different types of worms in my farm? Yes, but it’s best to keep them separate to monitor their performance effectively.
- How many worms do I need to start? A good starting point is about 1 pound of worms for every square foot of your worm bin.
- What if my worms are not eating? Check the moisture levels and the type of food you’re providing; they may need a different diet or environment.
Red Wigglers vs. European Nightcrawlers
When it comes to establishing a successful worm farm, choosing the right species can make all the difference. Two of the most popular options are Red Wigglers and European Nightcrawlers. Each type of worm has its unique characteristics, advantages, and care requirements, which can significantly affect your composting experience. So, how do you decide which one is best for your backyard worm farm?
Red Wigglers (Eisenia fetida) are often considered the champions of composting. They thrive in organic waste and are particularly efficient at breaking down kitchen scraps. These worms prefer to live in the top layers of soil, where they can easily access decaying organic matter. They are smaller, typically measuring about 3 to 4 inches long, and have a reddish-brown color. Because of their voracious appetite and rapid reproduction rate, Red Wigglers can produce compost quickly, making them an excellent choice for those looking to create nutrient-rich soil in a short amount of time.
On the other hand, European Nightcrawlers (Eisenia hortensis) are larger, reaching lengths of up to 6 inches. They are known for their ability to burrow deeper into the soil, which can be beneficial for aerating the ground. While they also consume organic waste, they tend to prefer a more diverse diet, including leaves and grass clippings. This makes them a great addition to outdoor composting systems or gardens where they can contribute to soil health over time.
| Feature | Red Wigglers | European Nightcrawlers |
|---|---|---|
| Size | 3-4 inches | Up to 6 inches |
| Habitat Preference | Top layers of soil | Deeper soil layers |
| Feeding Habits | Kitchen scraps, organic waste | Diverse diet, including leaves |
| Composting Efficiency | High | Moderate |
In terms of care, both types of worms require similar environmental conditions. They thrive in a moist environment with a temperature range of 55°F to 77°F. However, Red Wigglers may be slightly more forgiving if conditions fluctuate, while European Nightcrawlers might need more stable conditions to thrive. Ultimately, your choice may depend on your specific composting goals and the type of environment you can provide.
So, whether you lean towards the speedy composting of Red Wigglers or the robust soil aeration of European Nightcrawlers, both species can contribute significantly to your eco-friendly worm farm. It's all about finding the right balance for your gardening needs and preferences.
- Can I mix Red Wigglers and European Nightcrawlers in the same bin? Yes, you can mix them, but be mindful of their different feeding habits and habitat preferences.
- How often should I feed my worms? Generally, feeding them once a week is sufficient, but monitor their consumption to adjust as needed.
- What is the best temperature for worm farming? Ideally, keep the temperature between 55°F and 77°F for optimal worm health.
Feeding Habits
Understanding the of your worms is essential for maintaining a healthy and productive worm farm. Worms are nature's recyclers, and they thrive on a diet of organic materials. By providing them with the right foods, you can ensure they flourish and produce nutrient-rich compost that will benefit your garden. So, what do these little champions of composting enjoy munching on?
First and foremost, kitchen scraps are a fantastic source of food for your worms. Think of all those vegetable peels, fruit cores, and coffee grounds that often end up in the trash. Instead of tossing them out, why not give them a second life in your worm bin? Here’s a quick rundown of what you can feed your worms:
- Fruit and vegetable scraps: These are the staples of a worm's diet. Just remember to chop them into smaller pieces to make it easier for your worms to digest.
- Coffee grounds: Worms love coffee grounds! Not only do they add nitrogen to their diet, but they also help improve the texture of the compost.
- Eggshells: Crushed eggshells provide calcium, which is essential for the worms' health and helps balance the pH of the compost.
- Paper products: Shredded newspaper and cardboard can be added as bedding and food. Just avoid shiny or colored paper.
However, not all foods are suitable for your worm farm. It's important to avoid feeding them anything that could harm their health or disrupt the composting process. Here are some items to steer clear of:
- Meat and dairy products: These can attract pests and create unpleasant odors.
- Oils and fats: Worms can't digest these, and they can lead to anaerobic conditions in your bin.
- Spicy foods: Foods with strong spices can irritate worms, so it's best to keep them off the menu.
Feeding your worms is not just about quantity but also about balance. A varied diet will keep them happy and healthy. As a rule of thumb, aim to feed your worms about half their body weight in food each week. For example, if you have one pound of worms, you should offer them about half a pound of food weekly. Monitor how quickly they consume the food—if it’s gone within a few days, you can increase the amount. If it’s left uneaten, cut back a bit.
Additionally, keep an eye on the moisture levels in your worm bin. The food you provide can affect the moisture content, so make sure it’s not too wet or too dry. A good way to check is to grab a handful of the bedding material; it should feel like a damp sponge. If it’s too soggy, add some dry materials like shredded paper or cardboard to soak up the excess moisture.
In conclusion, by understanding and catering to the feeding habits of your worms, you’ll not only keep them healthy but also maximize the quality of the compost they produce. Remember, a happy worm is a productive worm!
Q: How often should I feed my worms?
A: It's generally recommended to feed your worms once a week, offering them about half their body weight in food.
Q: Can I feed my worms citrus scraps?
A: While worms can eat citrus scraps, it's best to do so in moderation as high acidity can be harmful.
Q: What should I do if my worms aren't eating the food?
A: If your worms aren’t eating, it could be a sign that you’re overfeeding or the food is too wet. Adjust the amount and moisture levels accordingly.

Habitat Requirements
Creating a thriving habitat for your worms is essential to ensuring they flourish and produce high-quality compost. Think of your worm farm as a cozy home where these little creatures can thrive, much like how we need a comfortable environment to feel our best. To achieve this, there are several key factors you need to consider.
First and foremost, temperature plays a vital role in the health of your worm farm. Worms are most comfortable in temperatures ranging from 55°F to 77°F (about 13°C to 25°C). If it gets too hot or too cold, your worms may become stressed, which can affect their composting ability. A simple thermometer can help you keep an eye on the temperature. If you notice it's getting too hot during the summer, consider relocating your worm bin to a shaded area or indoors. Conversely, in colder months, insulating your bin can help maintain a stable temperature.
Next up is moisture. Worms thrive in a moist environment, but it's crucial to strike a balance—too much moisture can lead to anaerobic conditions, which are harmful to worms. Aim for a moisture level that feels like a damp sponge. You can check this by squeezing a handful of bedding; if water drips out, it’s too wet! Regularly adding dry materials like shredded newspaper or cardboard can help absorb excess moisture.
When it comes to bedding materials, worms need a comfortable place to live. Good options include shredded newspaper, cardboard, coconut coir, or peat moss. These materials not only provide a cozy environment but also serve as a food source for your worms. Layer about 4-6 inches of bedding at the bottom of your worm bin to create a suitable habitat.
Lastly, drainage is a crucial aspect of your worm farm's habitat. Worms produce a liquid byproduct known as worm tea, which is beneficial for your plants, but too much liquid can drown your worms. Ensure your bin has drainage holes at the bottom to allow excess moisture to escape. You can place a tray underneath the bin to collect this liquid, which can be diluted with water and used as an organic fertilizer for your garden.
In summary, creating the perfect habitat for your worms involves paying attention to their temperature, moisture levels, bedding materials, and drainage. By providing these essential conditions, you're setting your worm farm up for success, and in return, you'll get nutrient-rich compost that can enhance your garden's health.
- How often should I check the moisture level in my worm bin?
It's a good idea to check the moisture level at least once a week, especially in changing weather conditions. - Can I use soil as bedding for my worms?
While soil can be used, it’s better to stick with materials like shredded newspaper or coconut coir, as they provide a better environment for your worms. - What should I do if my worms are escaping?
Worms may escape if the conditions in the bin are unfavorable. Check for temperature, moisture, and food levels to ensure they are comfortable.
Setting Up Your Worm Bin
Setting up your worm bin is like creating a cozy little home for your wriggly friends. Think of it as crafting a miniature ecosystem where your worms can thrive and turn kitchen scraps into **black gold**—that nutrient-rich compost that your garden will love. The first step is to choose the right container. You can use a plastic bin, a wooden box, or even a commercial worm bin. Just ensure that it has a lid to keep out unwanted pests and maintain moisture. A good rule of thumb is to aim for a bin that’s at least 10 to 18 inches deep; this gives your worms plenty of room to wiggle around and do their magic.
Next, you’ll want to create layers in your bin. Start with a base layer of bedding material, which can include shredded newspaper, cardboard, or coconut coir. This bedding serves as a comfortable habitat for the worms and helps retain moisture. Aim for a depth of about 4 to 6 inches. After your bedding is in place, it’s time to add a handful of soil. This not only introduces beneficial microorganisms but also gives your worms a little something to munch on!
Now, let’s talk about drainage. Worms are sensitive to excess moisture, so it’s essential to ensure your bin has proper drainage. If you’re using a plastic bin, drill a few small holes in the bottom to allow excess water to escape. You can place your worm bin on a tray to catch any runoff, making it easy to manage. Remember, the goal is to keep the environment moist but not soggy—think of a damp sponge rather than a soaking wet towel.
Once your bin is set up, it’s time to introduce your worms. Gently place them on top of the bedding and let them burrow down into their new home. They’ll begin to explore their surroundings and settle in. After a few days, you can start adding food scraps. Just remember to chop them into smaller pieces to speed up the decomposition process. Foods like fruit and vegetable scraps, coffee grounds, and crushed eggshells are excellent choices. However, steer clear of meat, dairy, and oily foods, as these can attract pests and create unpleasant odors.
Lastly, keep an eye on the temperature. Worms thrive in temperatures between 55°F and 77°F (13°C to 25°C). If it’s too hot or too cold, they may become inactive or even die. A good way to monitor the temperature is by using a thermometer or simply feeling the bin with your hand. If it feels warm, you might need to aerate the bin by turning the contents with a garden fork. This will help release excess heat and keep your worms happy.
In summary, setting up your worm bin is a straightforward process that requires careful attention to detail. By choosing the right container, layering materials, ensuring proper drainage, and maintaining the right temperature, you’ll create an ideal environment for your worms to thrive. With a little patience and care, you’ll soon be on your way to producing rich, organic compost that will nourish your garden and contribute to your eco-friendly lifestyle.

Maintaining Your Worm Farm
Maintaining your worm farm is akin to tending a delicate garden; it requires regular attention and care to ensure that your wriggly friends are thriving and producing nutrient-rich compost. Think of your worms as tiny composting machines, and just like any machine, they need proper maintenance to keep running smoothly. Regular monitoring of their environment, feeding schedule, and health is essential for a successful worm farm.
One of the most important aspects of maintenance is moisture control. Worms thrive in a moist environment, but too much moisture can lead to a soggy habitat that may suffocate them. Ideally, the moisture level should be similar to that of a damp sponge. To check this, simply squeeze a handful of the bedding material; if water drips out, it’s too wet! If it crumbles and feels dry, it’s time to add some water. A good rule of thumb is to check the moisture levels at least once a week.
Next up is feeding your worms. Worms are not picky eaters, but they do have preferences. They love kitchen scraps, such as fruit peels, vegetable trimmings, and coffee grounds. However, it’s essential to avoid feeding them meat, dairy, or oily foods, as these can attract pests and create unpleasant odors. A good practice is to feed them every 1-2 weeks, ensuring that you’re not overloading their system. If you notice that the food is being consumed slowly, it might be a sign to cut back a little.
Another vital part of maintenance is the harvesting of compost. This process is not just exciting; it’s rewarding! You’ll want to harvest the worm castings every 2-3 months, depending on how quickly your worms are working. To do this without disturbing the entire population, you can use a simple method: move the contents of your bin to one side and add fresh bedding and food to the other side. Over time, the worms will migrate to the new food source, leaving behind the finished compost for you to collect.
Lastly, it’s crucial to be aware of common issues that may arise in your worm farm. For instance, if you notice a foul odor, it could indicate that your bin is too wet or that you’re feeding them inappropriate foods. In such cases, you can remedy the situation by adding dry bedding materials like shredded newspaper or cardboard. Additionally, keep an eye out for pests like fruit flies or ants. If they invade your worm farm, try covering your bin with a breathable cloth or using traps to keep them at bay.
In summary, maintaining your worm farm is an ongoing journey that requires a bit of attention and love. By keeping an eye on moisture levels, feeding your worms appropriately, harvesting compost regularly, and addressing any issues that arise, you’ll create a thriving ecosystem that benefits both your garden and the environment. So roll up your sleeves and enjoy the fascinating world of vermiculture!
- How often should I check on my worm farm? It's best to check on your worm farm at least once a week to monitor moisture levels and food supply.
- What should I avoid feeding my worms? Avoid meat, dairy, and oily foods as they can attract pests and cause odors.
- How do I know when to harvest compost? You can harvest compost every 2-3 months, or when you notice that most of the food has been consumed.
- Can I keep my worm farm indoors? Yes, as long as you provide the right conditions, such as temperature and moisture control.
Harvesting Compost
Harvesting compost from your worm farm is not just a chore; it's like unearthing a treasure chest of nutrients! This process is both exciting and rewarding, as you witness the fruits of your labor in the form of rich, dark worm castings. These castings are packed with essential nutrients that can transform your garden into a lush paradise. But how do you go about this without disrupting your wriggly friends? Let’s dive into some best practices!
First and foremost, timing is everything. You want to ensure that your worm farm has produced enough compost before you start harvesting. Typically, you can begin this process every 3 to 6 months, depending on the size of your farm and the amount of organic waste you feed your worms. A good indication that it’s time to harvest is when the bedding material looks significantly broken down and the volume of castings has increased. Remember, though, patience is key—rushing the process can lead to less-than-ideal results.
When you’re ready to harvest, here’s a simple method to minimize disruption to your worms:
- Divide and Conquer: Move the castings to one side of the bin. This creates a space for your worms to migrate away from the area you want to harvest.
- Feed Them: Place fresh food scraps in the empty space. Worms are attracted to food, so they will naturally move to the new area, allowing you to collect the castings with minimal disturbance.
- Use a Sifter: If you prefer a more thorough approach, you can sift out the castings using a mesh screen or a compost sifter. This method allows you to separate the worms from the compost easily.
As you collect the castings, be gentle. The worms are your allies in this process, and you want to keep as many of them in the bin as possible for continued compost production. After you’ve gathered the compost, you can use it immediately in your garden or store it for later use. Just remember to keep it moist and in a cool, dark place if you’re saving it.
Finally, don’t forget to replenish the bedding in your worm bin after harvesting. A good mix of shredded newspaper, cardboard, and coconut coir will keep your worms comfortable and happy. This ensures that they remain productive, ready to turn your kitchen scraps into black gold once again!
Q: How often should I harvest compost from my worm farm?
A: Generally, every 3 to 6 months is a good timeframe, but it can vary based on the size of your farm and how much waste you’re feeding your worms.
Q: Will I harm my worms during the harvesting process?
A: If done carefully, you can minimize harm. Techniques like moving castings to one side and using a sifter can help protect your worms.
Q: Can I use worm castings directly in my garden?
A: Absolutely! Worm castings are a fantastic organic fertilizer and can be used directly to enrich your soil.
Q: What if I accidentally harvest some worms?
A: Don’t worry too much! If you find worms in your harvested compost, simply return them to the bin. They are resilient and will continue to thrive!
Dealing with Pests
Maintaining a healthy worm farm is not just about feeding and caring for your worms; it also involves keeping an eye out for potential pests that can disrupt their environment. Just like any thriving ecosystem, your worm farm can attract unwelcome guests. These pests can range from pesky fruit flies to more serious threats like mites and nematodes. Understanding how to identify and manage these pests is crucial for the success of your worm farming venture.
First off, let’s talk about the most common culprits you might encounter:
- Fruit Flies: These tiny insects are often drawn to the organic materials in your worm bin. While they don’t harm the worms directly, they can be a nuisance.
- Mites: These microscopic pests can sometimes be beneficial, but an overpopulation can lead to problems. They thrive in overly moist conditions.
- Nematodes: Some species are beneficial, but others can be harmful to your worms. It’s essential to identify which type you have.
So, how can you keep these pests at bay? Here are some effective strategies:
- Keep it Clean: Regularly clean your worm bin and remove any uneaten food. This will help deter fruit flies and other pests.
- Monitor Moisture Levels: Pests like mites thrive in damp conditions. Ensure your worm bin has the right moisture level—think of it as a Goldilocks scenario: not too wet, not too dry, but just right!
- Use a Cover: A breathable cover can help keep pests out while allowing air circulation. This is particularly useful for deterring fruit flies.
Additionally, if you notice a pest problem escalating, don’t panic! There are natural remedies you can employ. For instance, introducing beneficial nematodes can help control harmful nematode populations. You can also sprinkle some diatomaceous earth around the bin, which is harmless to your worms but can deter pests.
Lastly, always remember that a healthy worm farm is a balanced ecosystem. By keeping an eye on your environment and making adjustments as necessary, you can create a thriving habitat for your worms while minimizing pest issues. Think of it as nurturing a garden—when you care for the plants, they flourish, and so do the beneficial insects that help keep pests away.
Q: How do I know if my worms are healthy?
A: Healthy worms are usually active and have a moist, shiny appearance. If they are sluggish or dry, it may indicate issues with temperature or moisture.
Q: Can I use my kitchen scraps as worm food?
A: Absolutely! Kitchen scraps like vegetable peels, coffee grounds, and eggshells are perfect for worms. Just avoid meat, dairy, and oily foods.
Q: How often should I check for pests?
A: It’s a good practice to check your worm bin weekly. Regular monitoring will help you catch any pest problems early.
Frequently Asked Questions
-
What is worm farming and why should I start one?
Worm farming, or vermiculture, is the practice of cultivating worms to compost organic waste. It’s a fantastic way to reduce waste, improve soil health, and produce nutrient-rich compost for your garden. Plus, it’s eco-friendly and can be a fun project for families!
-
Which type of worms should I use for my worm farm?
The most popular types of worms for composting are red wigglers and European nightcrawlers. Red wigglers are great for composting and thrive in smaller spaces, while European nightcrawlers can handle larger quantities of food waste but require more space. Choosing the right one depends on your specific needs!
-
How do I set up a worm bin?
Setting up a worm bin is simple! Start with a suitable container that has drainage holes. Layer the bottom with bedding materials like shredded newspaper or coconut coir, add your worms, and then feed them kitchen scraps. Make sure to keep it moist but not soggy!
-
What should I feed my worms?
Your worms will love a variety of kitchen scraps! They thrive on fruit and vegetable peels, coffee grounds, and crushed eggshells. Just avoid feeding them meat, dairy, or oily foods, as these can attract pests and create odors.
-
How often do I need to maintain my worm farm?
Regular maintenance is key! Check your worm bin every couple of weeks to monitor moisture levels, add food, and ensure the environment is healthy. Harvesting compost can be done every few months, depending on how quickly your worms are working!
-
What if I notice pests in my worm bin?
Pests can be a nuisance, but don’t worry! To manage them, keep your bin well-aerated and avoid overfeeding. If you spot pests, remove any affected food and consider adding beneficial insects like nematodes to help control the population.
-
How do I harvest the compost from my worm farm?
Harvesting compost is an exciting part of worm farming! You can either sift through the bin to collect the worm castings or use the “migration method,” where you move the food to one side of the bin, encouraging the worms to follow, allowing you to easily collect the castings from the other side.